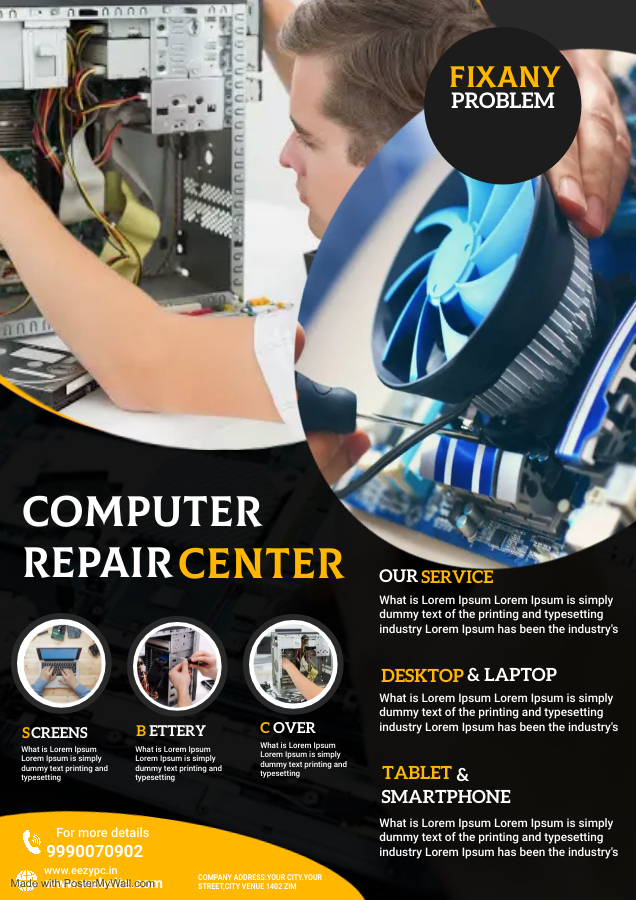
Laptops have become an integral part of our daily lives, serving as essential tools for work, education, and entertainment. However, one of the most common issues users face is a damaged or malfunctioning screen. Whether it’s a cracked display, flickering screen, or unresponsive pixels, a faulty laptop screen can disrupt your productivity and cause frustration. Fortunately, laptop screen replacement is a viable solution that can restore your device to its optimal condition. In this guide, we’ll explore everything you need to know about laptop screen replacement, including common issues, the replacement process, and tips for maintaining your screen.

Common Laptop Screen Issues
Laptop screens can suffer from various problems, including:
- Cracked or Broken Screen: Physical damage from drops or impacts can cause cracks or shatter the screen, rendering it unusable.
- Dead Pixels: Small areas of the screen may fail to display correctly, appearing as black or colored spots.
- Backlight Issues: If the backlight malfunctions, the screen may become dim or completely dark, making it difficult to see the display.
- Flickering Screen: A flickering screen can be caused by loose connections, faulty hardware, or software issues.
- Discoloration: The screen may display incorrect colors or have a distorted image, often due to hardware failures or connection problems.
The Laptop Screen Replacement Process
Replacing a laptop screen can be a complex task, but with the right tools and knowledge, it can be done effectively. Here’s a step-by-step overview of the process:
Step 1: Diagnose the Problem
Before proceeding with a screen replacement, ensure that the issue is indeed with the screen and not with other components such as the graphics card or the connecting cables. This can often be determined by connecting the laptop to an external monitor.
Step 2: Gather Necessary Tools and Parts
To replace a laptop screen, you’ll need:
- A replacement screen compatible with your laptop model
- A set of small screwdrivers (usually Phillips-head)
- A plastic prying tool
- Anti-static wrist strap (optional but recommended)
Step 3: Power Down and Disassemble
- Power Off and Unplug: Ensure the laptop is turned off and disconnected from any power source.
- Remove the Battery: If possible, remove the battery to prevent any accidental power-up during the process.
- Open the Bezel: Use a plastic prying tool to carefully remove the bezel (the plastic frame surrounding the screen). Be gentle to avoid breaking any clips.
Step 4: Disconnect the Screen
- Remove Screws: Locate and remove the screws holding the screen in place. These are usually found at the corners of the screen.
- Tilt the Screen Forward: Carefully tilt the screen forward to access the video cable at the back.
- Disconnect the Video Cable: Gently disconnect the video cable from the back of the screen.
Step 5: Install the New Screen
- Connect the New Screen: Attach the video cable to the new screen.
- Secure the Screen: Place the new screen in position and secure it with the screws you previously removed.
- Reattach the Bezel: Snap the bezel back into place, ensuring all clips are secure.
Step 6: Test the New Screen
- Reconnect the Battery and Power Up: Reinstall the battery, plug in the laptop, and power it up.
- Verify Functionality: Check the new screen for any issues, ensuring it displays correctly and functions as expected.
Tips for Maintaining Your Laptop Screen
To prolong the life of your laptop screen and avoid future replacements, follow these maintenance tips:
- Use a Screen Protector: Apply a screen protector to prevent scratches and minor damages.
- Avoid Physical Impact: Handle your laptop with care to avoid drops and impacts that could damage the screen.
- Clean Regularly: Clean the screen with a soft, microfiber cloth and appropriate screen cleaner to avoid buildup of dust and grime.
- Adjust Brightness: Use the appropriate brightness level to reduce strain on the backlight and extend its lifespan.
Conclusion
A damaged laptop screen doesn’t have to mean the end of your device. With a proper understanding of the replacement process and the right tools, you can replace your laptop screen and restore its functionality. However, if you’re not comfortable performing the replacement yourself, professional repair services are always available to help. Regular maintenance and careful handling can also prevent future screen issues, ensuring your laptop remains a reliable tool for years to come.
If you need expert assistance with your laptop screen replacement or any other laptop repairs, contact us today! Our skilled technicians are here to help you get your device back in perfect working condition.

EEZY PC: Your One-Stop Shop for All Things Tech 🛠️✨
At EEZY PC, we offer a wide range of tech services and products to meet all your computing needs. From custom-built PCs and repairs to accessories and software, we’re your go-to tech experts. Experience exceptional service and quality products at EEZY PC.
Visit us today!

Discover the Best Deals on Laptops at EEZY PC 💼💻
Looking for a new laptop? EEZY PC has an incredible selection of laptops at unbeatable prices! Whether you need a powerful machine for work or a sleek device for entertainment, we have the perfect laptop for you. Visit us and take advantage of our latest deals!
Browse our laptop collection!

Fast and Reliable Computer Repairs at EEZY PC 🔧💡
Facing technical issues with your computer? Our experienced technicians at EEZY PC are here to help! We offer fast, reliable repair services to get you back on track in no time. From hardware fixes to software troubleshooting, we’ve got you covered.